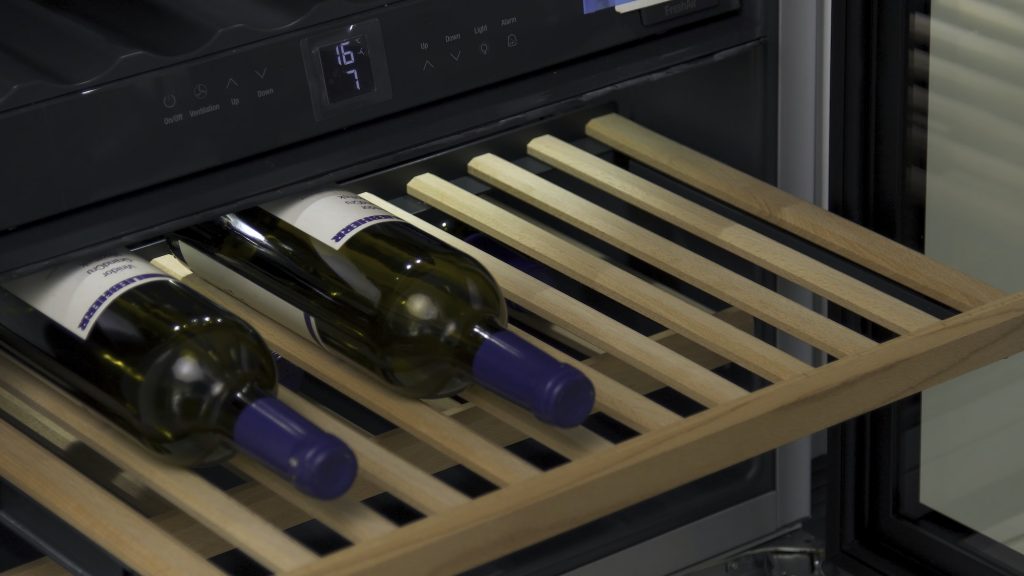
Wine lovers understand the importance of proper wine storage to preserve the taste and quality of their collections. A built-in wine cooler is an excellent investment for wine enthusiasts who want to keep their wine bottles at the perfect temperature and humidity levels. Installing a built-in wine cooler can seem like a daunting task, but with the right tools and a bit of knowledge, it can be a breeze. This article will walk you through installing a built-in wine cooler in your home or business.

Choosing the Right Location for Your Built-in Wine Cooler
The first step in installing a built-in wine cooler is selecting the correct location. The ideal place for a wine cooler should have the following attributes:
- Accessible and near your bar or kitchen
- In a cool, dry area away from direct sunlight and heat sources
- On an interior wall for stability
- With enough space for the wine cooler and enough room for wine bottles to be easily removed and replaced
Preparing Your Space for Installation
Once you have selected the ideal location for your built-in wine cooler, it is time to prepare your space for installation. The following steps will help you get your room ready:
- Measure the area where you will install the wine cooler to make sure it will fit
- Turn off power to the site where the wine cooler will be installed
- Remove any existing cabinetry or shelving in the area
- Clean the area thoroughly to remove any dust or debris
Installing the Built-in Wine Cooler
The next step in the installation process is installing the built-in wine cooler. The following steps will help you complete the installation process:
- Remove the wine cooler from its packaging and place it in the area where it will be installed.
- Secure the wine cooler to the wall using the screws and brackets provided.
- Connect the wine cooler to the power source, following all safety guidelines.
- Test the wine cooler to make sure it is functioning correctly.
Finishing the Installation
The final step in the installation process is to finish the area around the built-in wine cooler. The following steps will help you complete this step:
- Install cabinetry or shelving around the wine cooler to match the rest of your kitchen or bar.
- Add any additional lighting or décor to the area to enhance the look of the built-in wine cooler.
- Fill the wine cooler with your favourite bottles of wine and enjoy!
Conclusion
Installing a built-in wine cooler is an excellent investment for wine enthusiasts who want to keep their wine bottles at the perfect temperature and humidity levels. With the right tools and knowledge, anyone can install a built-in wine cooler in their home or business. Follow these steps to ensure a smooth and successful installation process. Happy sipping!

