Are you looking to add some pizzazz and personality to your outdoor kitchen area? Line marking paint can be the perfect solution to transform your space into a stunning work of art. In this comprehensive guide, I’ll walk you through everything you need to know about using line marking paint to revamp your outdoor kitchen, from choosing the right paint to creating intricate designs and maintaining your newly painted surface.
Introduction
Your outdoor kitchen is an extension of your home, a place where you can gather with friends and family, enjoying delicious meals and creating lasting memories. By using line marking paint from reputable suppliers like Line Marker Paint, you can elevate the look and feel of your outdoor kitchen, transforming it into a true showpiece that reflects your unique style and personality. With a wide range of colors and finishes available, line marking paint offers endless possibilities for revamping your outdoor space.
In this article, I’ll cover the advantages of using line marking paint, how to choose the right paint for your project, and the tools and materials you’ll need. I’ll also guide you through the process of preparing your outdoor kitchen area, creating a design plan, and applying the paint. Finally, I’ll share some inspiring ideas for patterns and designs, as well as tips for maintaining your newly painted surface.
What is Line Marking Paint?
Line marking paint is a type of paint specifically designed for creating crisp, clear lines and markings on various surfaces, including concrete, asphalt, and pavement. This paint is highly durable, weather-resistant, and able to withstand heavy foot and vehicle traffic.
Line marking paint comes in a wide range of colors and formulations, including water-based and solvent-based options. It can be applied using various methods, such as brushing, rolling, or spraying, depending on the size of your project and the desired effect.
Advantages of Using Line Marking Paint
There are several advantages to using line marking paint for your outdoor kitchen revamp project:
- Durability: Line marking paint is designed to withstand harsh weather conditions, UV rays, and heavy foot traffic, ensuring your design will last for years to come.
- Versatility: With a wide range of colors and the ability to create custom designs, line marking paint allows you to personalize your outdoor kitchen area to suit your unique style and preferences.
- Cost-effective: Compared to other outdoor flooring options, such as tiles or pavers, line marking paint is a cost-effective way to transform your space.
- Easy to apply: With the right tools and techniques, applying line marking paint is a straightforward process that most DIY enthusiasts can tackle.
- Low maintenance: Once your line marking paint design is sealed, it requires minimal maintenance to keep it looking fresh and vibrant.
Choosing the Right Line Marking Paint
When selecting line marking paint for your outdoor kitchen project, consider the following factors:
- Surface compatibility: Ensure the paint you choose is suitable for the surface you’ll be painting, such as concrete or asphalt.
- Color options: Select a color palette that complements your outdoor kitchen’s existing features and your personal style.
- Durability: Opt for a high-quality, durable line marking paint that can withstand the elements and heavy foot traffic.
- Drying time: Consider the drying time of the paint, especially if you have a limited window to complete your project.
- VOC content: If you’re concerned about environmental impact or have sensitivities to strong odors, look for low-VOC or zero-VOC line marking paints.
Some popular line marking paint brands include:
- Rust-Oleum Industrial Choice Striping Spray Paint
- Seymour Stripe Inverted Marking Spray Paint
- Sher-Kem Traffic Marking Paint
- Aervoe Marking Chalk
Tools and Materials Required
Before starting your line marking paint project, gather the following tools and materials:
- Line marking paint in your chosen colors
- Paint roller or paint sprayer
- Paint brushes for touch-ups and detail work
- Paint tray or bucket
- Stir stick
- Measuring tape
- Chalk or chalk line
- Painter’s tape
- Stencils (optional)
- Pressure washer or hose
- Broom and dustpan
- Concrete cleaner or degreaser
- Concrete patching compound (if needed)
- Safety gear, including gloves, goggles, and a respirator mask (if using solvent-based paints)
Preparing Your Outdoor Kitchen Area
Before applying line marking paint, it’s crucial to properly prepare your outdoor kitchen area to ensure the best results and longevity of your design.
Cleaning the Surface
Start by thoroughly cleaning the surface you plan to paint. Use a pressure washer or hose to remove dirt, debris, and loose materials. For stubborn stains or grease, apply a concrete cleaner or degreaser and scrub the surface with a stiff-bristled brush. Rinse the area thoroughly and allow it to dry completely.
Repairing Cracks and Damages
Inspect the surface for cracks, chips, or other damages. Use a concrete patching compound to fill in any imperfections, following the manufacturer’s instructions for application and drying times. Once the patching compound has dried, sand the repaired areas to create a smooth, even surface.
Priming the Surface
Depending on the condition of your surface and the type of line marking paint you’re using, you may need to apply a primer before painting. A primer helps to seal the surface, improve paint adhesion, and ensure a more even application. Follow the manufacturer’s guidelines for priming and allow the primer to dry completely before proceeding.
Measuring and Marking the Area
Before creating your design, measure the area you plan to paint and mark out the key elements using chalk or a chalk line. This step will help you visualize your design and ensure proper spacing and proportions.
Creating a Design Plan
Sketch out your design plan on paper or use a digital design tool to create a detailed layout. Consider the size of your outdoor kitchen area, the existing features you want to highlight or complement, and your personal style preferences. Some design elements to consider include:
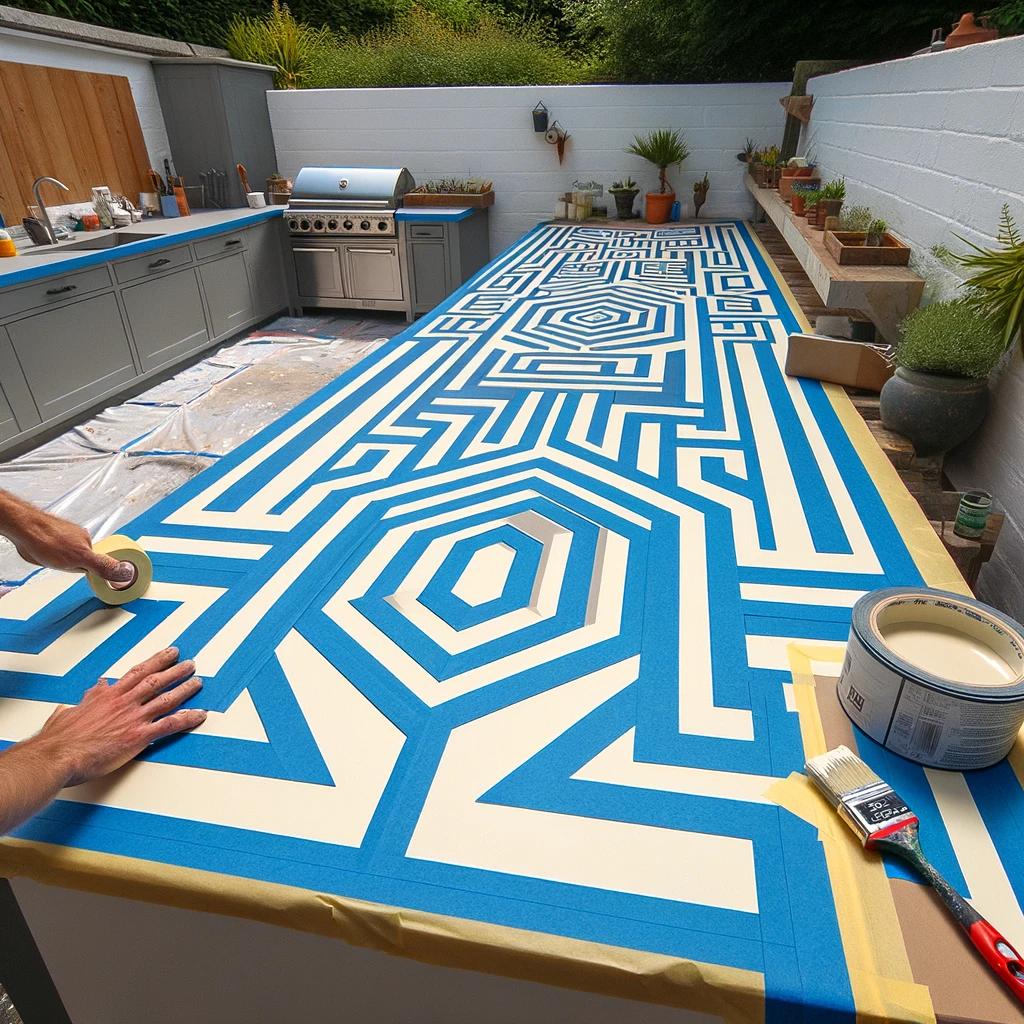
- Geometric patterns, such as stripes, chevrons, or polygons
- Borders and frames around specific features, like your grill or seating area
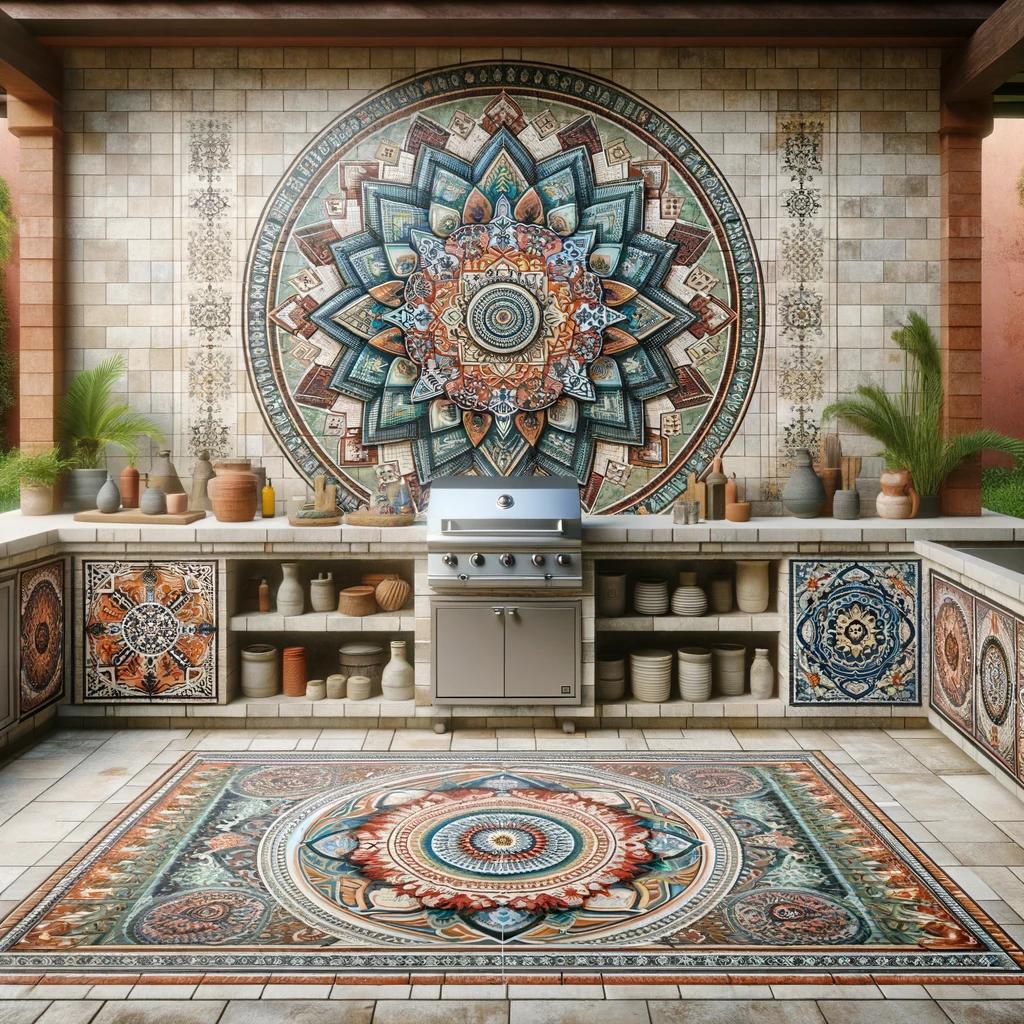
- Focal points, such as a large-scale motif or a center medallion
- Color schemes that complement your outdoor kitchen’s existing palette
Simple Design Ideas
If you’re new to using line marking paint or prefer a more minimalist look, consider these simple design ideas:
- Single-color border: Create a clean, crisp border around the perimeter of your outdoor kitchen area in a contrasting color to define the space.
- Two-tone stripes: Alternate between two complementary colors to create a classic striped pattern that adds visual interest without overwhelming the space.
- Geometric shapes: Use basic geometric shapes, such as circles, squares, or triangles, to create a modern, abstract design.

Intricate Design Ideas
For those looking to create a more elaborate and eye-catching design, consider these intricate ideas:
- Faux tile pattern: Mimic the look of intricate tilework by creating a grid of squares or rectangles and filling them with various patterns and colors.
- Mandala or medallion: Create a large-scale, circular design at the center of your outdoor kitchen area, featuring intricate geometric patterns and symmetrical elements.
- Custom logo or artwork: Incorporate your family crest, monogram, or a custom piece of artwork into your design for a truly personalized touch.
Mixing the Paint
Before applying the paint, thoroughly mix each color using a stir stick, ensuring that any settled pigments are fully incorporated. If you plan to create custom colors or shades, mix them in a separate container, using precise measurements to ensure consistency.
Testing the Paint
Before committing to your design, test the paint colors on a small, inconspicuous area of your outdoor kitchen to ensure that you’re happy with the color and finish. Allow the test patch to dry completely and view it under different lighting conditions to get an accurate sense of the final result.
Applying the First Coat
Begin applying the first coat of line marking paint using your chosen method (roller, sprayer, or brush), starting with the outline of your design and working your way inward. Use even, consistent strokes to ensure a smooth, uniform application. If you’re using a stencil, carefully position it on the surface and apply the paint, taking care not to let the paint bleed underneath the edges.
Allowing the First Coat to Dry
Follow the manufacturer’s guidelines for drying times between coats. Depending on the type of paint and environmental conditions, this can range from a few hours to a full day. Ensure that the first coat is completely dry before applying the second coat.
Applying the Second Coat
Apply the second coat of line marking paint, following the same process as the first coat. The second coat will help to enhance the color, provide better coverage, and increase the durability of your design. If necessary, apply additional coats until you achieve the desired opacity and finish.
Adding Texture to the Paint
Create visual and tactile interest by adding texture to your line marking paint design. Some methods for adding texture include:
- Stippling: Use a stipple brush or sponge to dab paint onto the surface, creating a subtle, textured effect.
- Sand: Mix fine sand or silica into the paint before applying it to create a non-slip, gritty texture that’s perfect for high-traffic areas.
- Layering: Apply multiple layers of paint in different colors or finishes to create depth and dimension, such as a glossy top coat over a matte base.
Creating Borders and Edges
Use painter’s tape to create crisp, clean borders and edges around your design elements. Apply the tape carefully, ensuring that it adheres properly to the surface to prevent paint bleed. Once the paint has dried completely, remove the tape at a 45-degree angle to reveal sharp, precise lines.
Incorporating Stencils
Stencils are a great way to add intricate patterns or designs to your outdoor kitchen area without the need for freehand painting skills. Choose stencils that complement your overall design plan, and secure them to the surface using painter’s tape or spray adhesive. Apply the paint using a stipple brush or foam roller, taking care not to overload the stencil with paint, which can cause bleeding or smudging.
Hand-Painting Techniques
For more organic or freeform designs, use hand-painting techniques to create unique, one-of-a-kind elements. Some hand-painting techniques to try include:
- Brushwork: Use various brush strokes and techniques, such as dry-brushing or layering, to create depth and texture.
- Sponging: Dab paint onto the surface using a sea sponge or natural sponge to create a mottled, organic effect.
- Freestyle: Use your imagination and paint freehand designs, such as swirls, vines, or abstract shapes, to add a personal touch to your outdoor kitchen area.
Using Tape for Clean Lines
In addition to using painter’s tape for borders and edges, you can also use it to create clean, geometric lines and shapes within your design. Apply the tape in your desired pattern, making sure to press down firmly to prevent paint bleed. Paint over the tape and remove it while the paint is still wet for the sharpest lines.
Blending Colors
Create smooth, seamless transitions between colors by blending them together. Some techniques for blending colors include:
- Wet-on-wet: Apply one color of paint while the previous color is still wet, allowing them to blend naturally.
- Feathering: Use a dry brush to gently feather the edges of one color into another, creating a soft, gradual transition.
- Stippling: Use a stipple brush or sponge to dab one color into another, creating a mottled, blended effect.
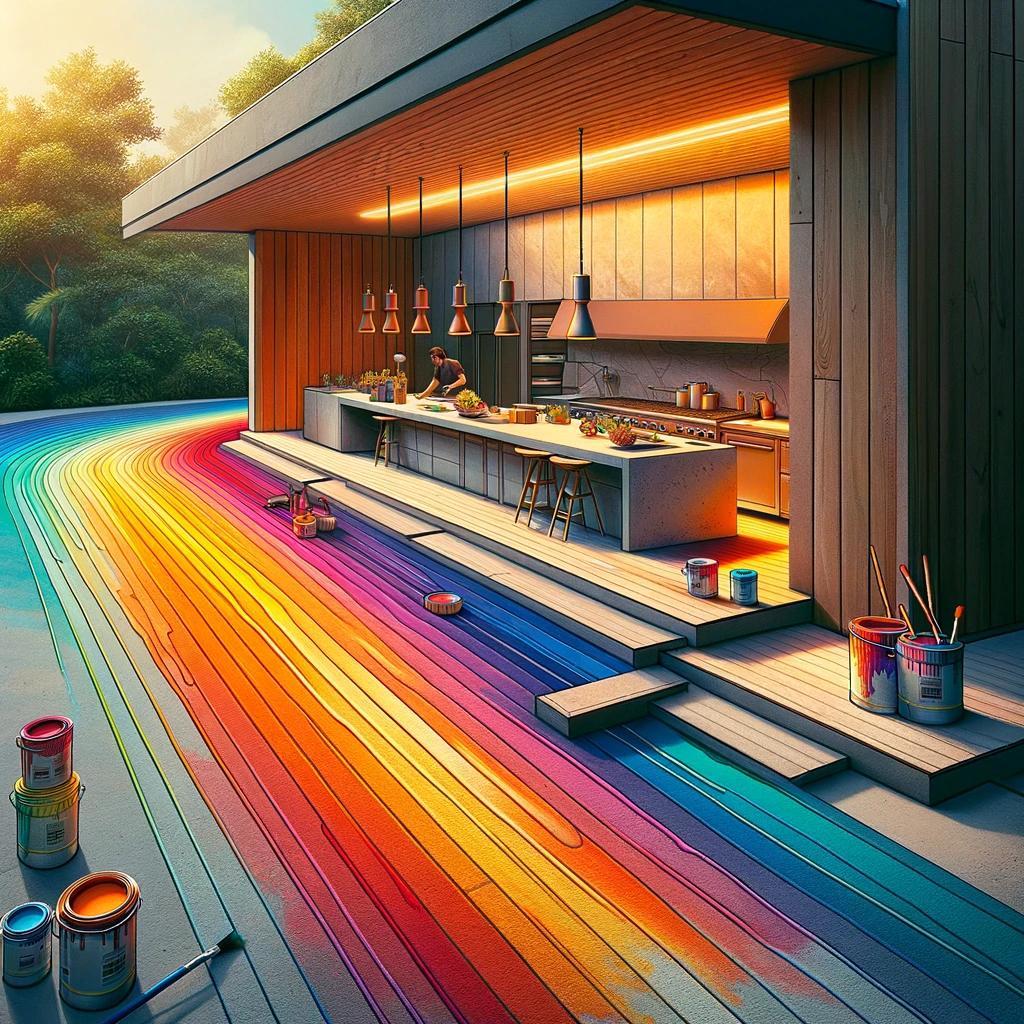
Creating Gradients
Gradients are a great way to add depth and visual interest to your line marking paint design. To create a gradient:
- Choose your colors: Select two or more colors that will blend well together.
- Apply the base color: Paint the entire area with the lightest color in your gradient.
- Add the second color: While the base color is still wet, start applying the second color at one end of the area, gradually blending it into the base color.
- Continue adding colors: If using more than two colors, continue adding them in the same manner, blending each new color into the previous one.
- Blend and adjust: Use a dry brush or sponge to further blend the colours, creating a smooth, seamless transition. Add more paint as needed to achieve the desired effect.
Adding Glitter or Metallic Accents
For a touch of sparkle and glamour, consider adding glitter or metallic accents to your line marking paint design. You can either mix glitter or metallic pigments directly into the paint before applying, or use a glitter or metallic topcoat over your existing design. Be sure to use a clear sealer over glitter or metallic accents to protect them from wear and tear.
Sealing the Paint
Once your line marking paint design is complete and has dried thoroughly, it’s important to seal the paint to protect it from the elements and extend its lifespan.
Choosing the Right Sealer
Select a sealer that is compatible with your line marking paint and suitable for outdoor use. Some common types of sealers include:
- Water-based acrylic sealers: These sealers are easy to apply, low-odor, and provide good protection against UV rays and moisture.
- Solvent-based acrylic sealers: These sealers offer excellent durability and resistance to chemicals, abrasion, and staining, but may have a stronger odor and require more ventilation during application.
- Epoxy sealers: Epoxy sealers provide the highest level of durability and resistance to wear and tear, making them ideal for high-traffic areas. However, they can be more challenging to apply and may require professional installation.
Applying the Sealer
Before applying the sealer, ensure that your line marking paint design is completely dry and free of dust, dirt, or debris. Follow the manufacturer’s instructions for application, which may involve using a roller, sprayer, or brush. Apply the sealer in thin, even coats, allowing each coat to dry completely before applying the next. Depending on the type of sealer and the level of protection desired, you may need to apply multiple coats.
Maintaining Your Newly Painted Outdoor Kitchen Area
To keep your line marking paint design looking fresh and vibrant for years to come, follow these maintenance tips:
Cleaning and Caring for the Paint
Regularly sweep or blow away loose dirt and debris from your painted surface. When necessary, clean the area using a mild detergent and water, taking care not to use abrasive cleaners or scrub too aggressively, which can damage the paint and sealer.
Touching Up Chips and Scratches
Despite your best efforts, chips and scratches may occur over time. To touch up small areas, clean the affected area and use a small brush to apply matching paint, blending it seamlessly with the surrounding design. Once dry, apply a touch-up layer of sealer to protect the repaired area.
Repainting Every Few Years
Depending on the level of wear and tear and exposure to the elements, your line marking paint design may need to be refreshed every few years. When the paint starts to look dull, faded, or worn, clean the surface thoroughly and reapply the paint and sealer, following the same process as the initial application.
Inspiring Outdoor Kitchen Line Marking Paint Projects
Need some inspiration for your outdoor kitchen line marking paint project? Consider these creative ideas:
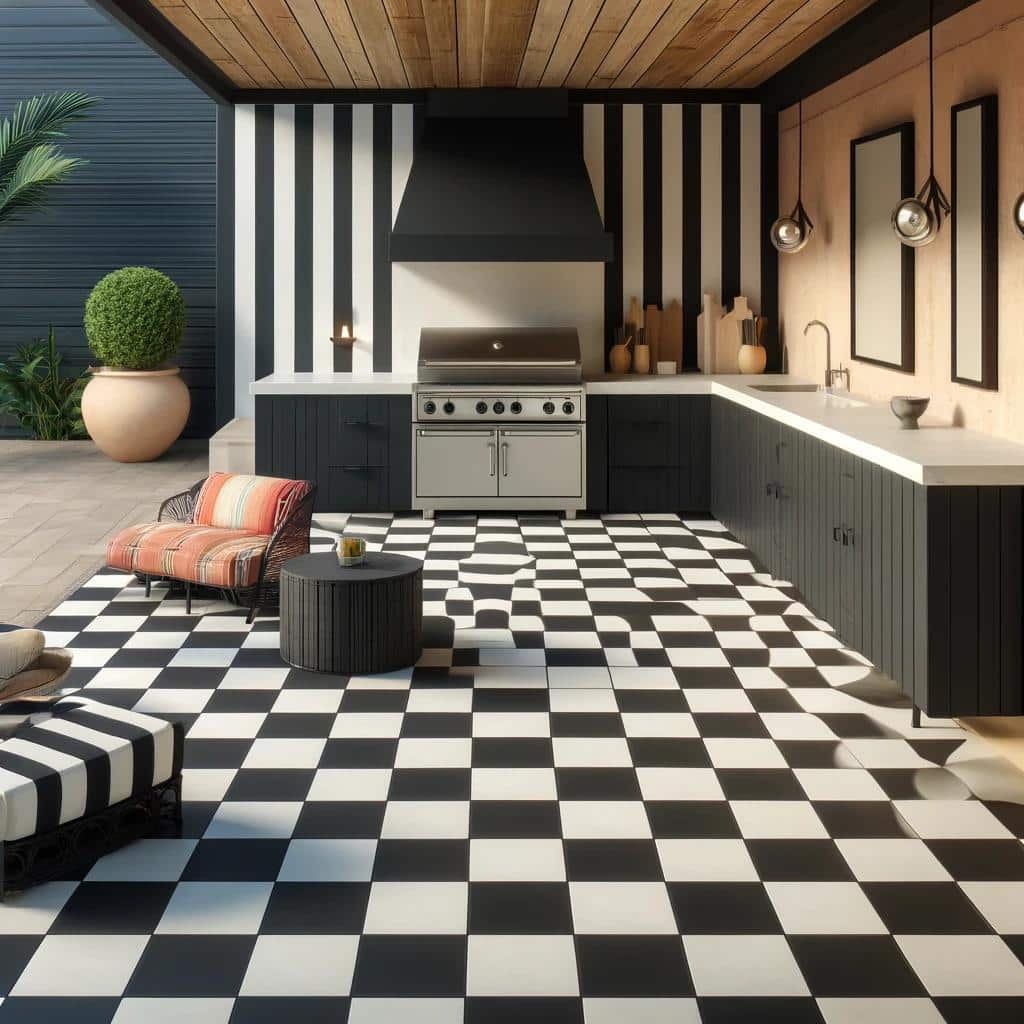
Checkerboard Pattern
Create a classic, timeless look with a black and white checkerboard pattern. This design works well for larger outdoor kitchen areas and can be paired with bold, colorful accents for a pop of visual interest.
Sports Team Logos
Show off your team spirit by incorporating your favorite sports team’s logo or colors into your outdoor kitchen design. Use stencils or projectors to ensure accurate, crisp logos and lettering.
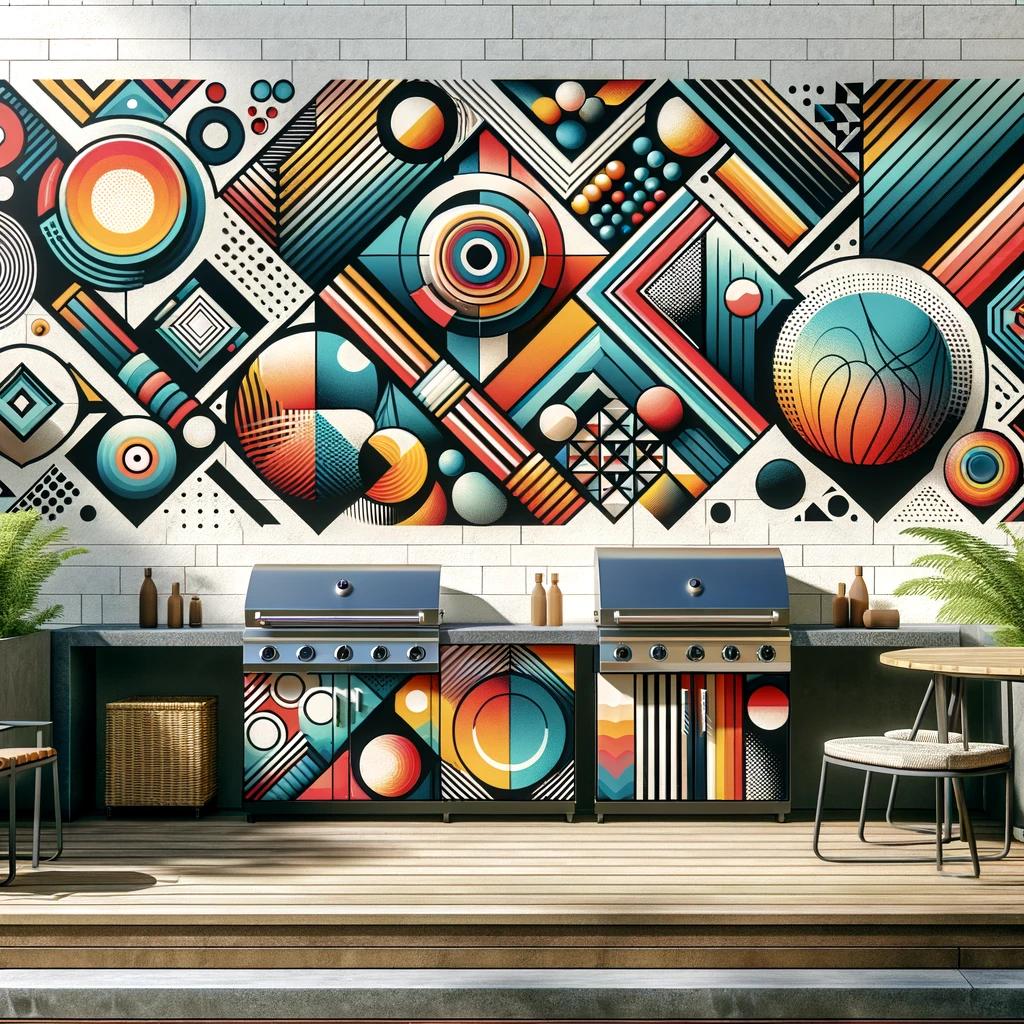
Geometric Shapes
Create a modern, abstract design using a combination of geometric shapes, such as circles, triangles, and squares. Experiment with different colors and patterns within each shape for added depth and complexity.
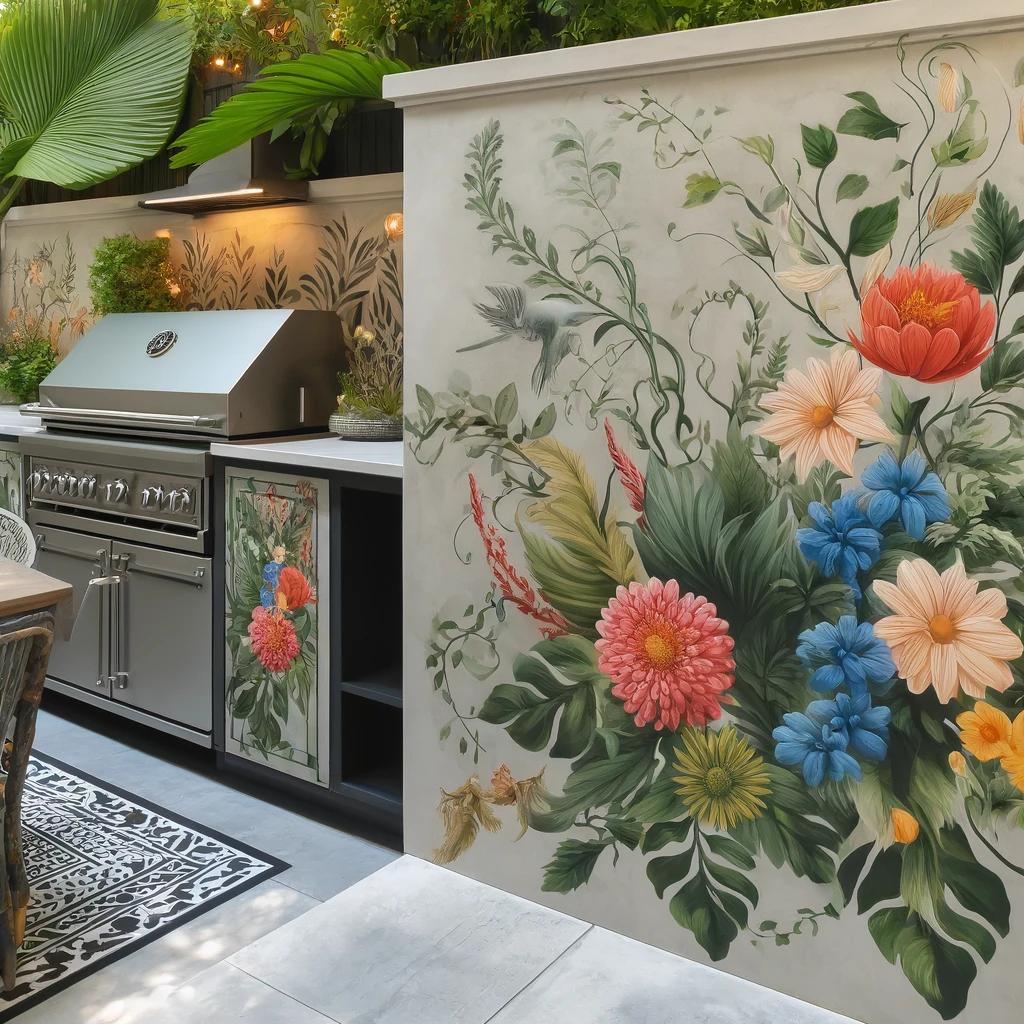
Floral Designs
Bring a touch of nature to your outdoor kitchen with a floral-inspired design. Use stencils or freehand techniques to create vines, leaves, and blooms in vibrant colors, or opt for a more subdued, monochromatic palette for a sophisticated look.
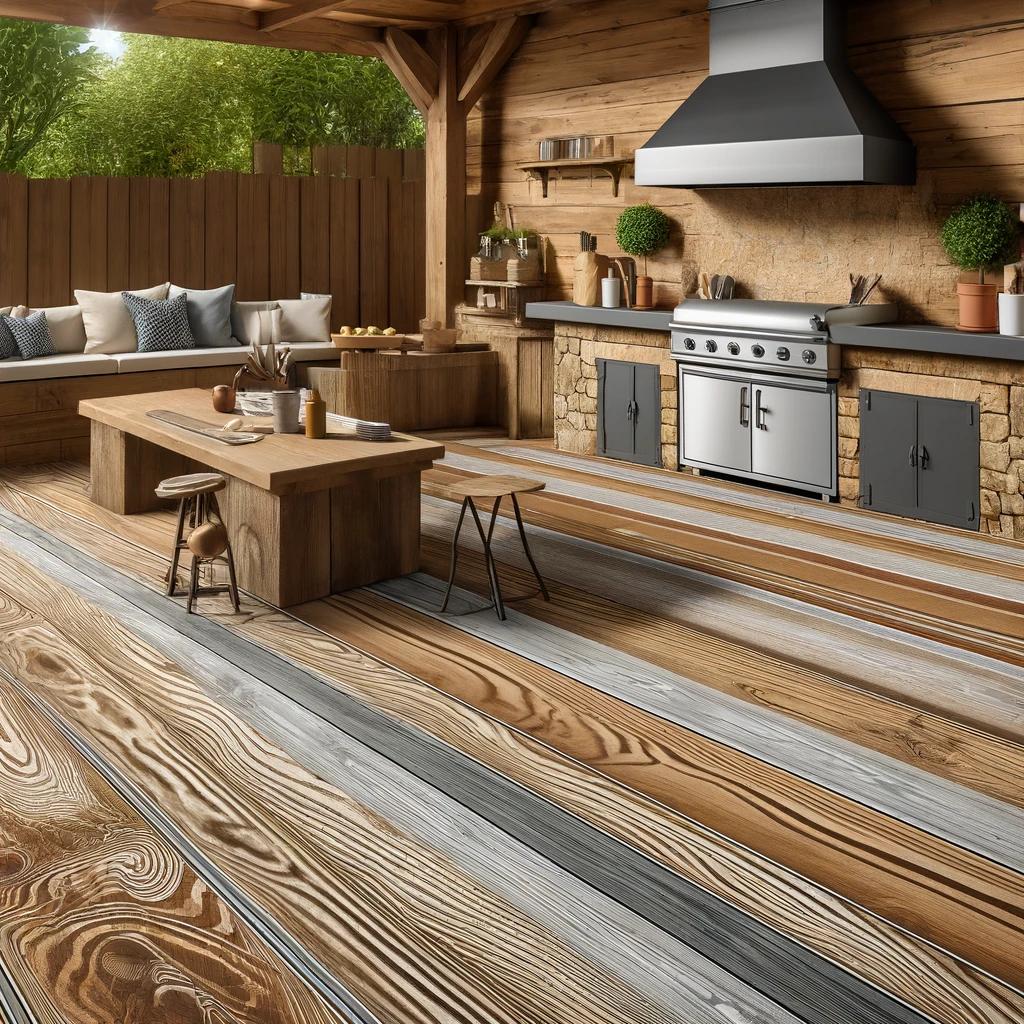
Rustic Wood Grain Look
Mimic the look of natural wood grain using line marking paint and specialized techniques, such as wood graining tools or rocker stripers. Use shades of brown, beige, and gray to create a realistic wood effect that complements a rustic or farmhouse-style outdoor kitchen.
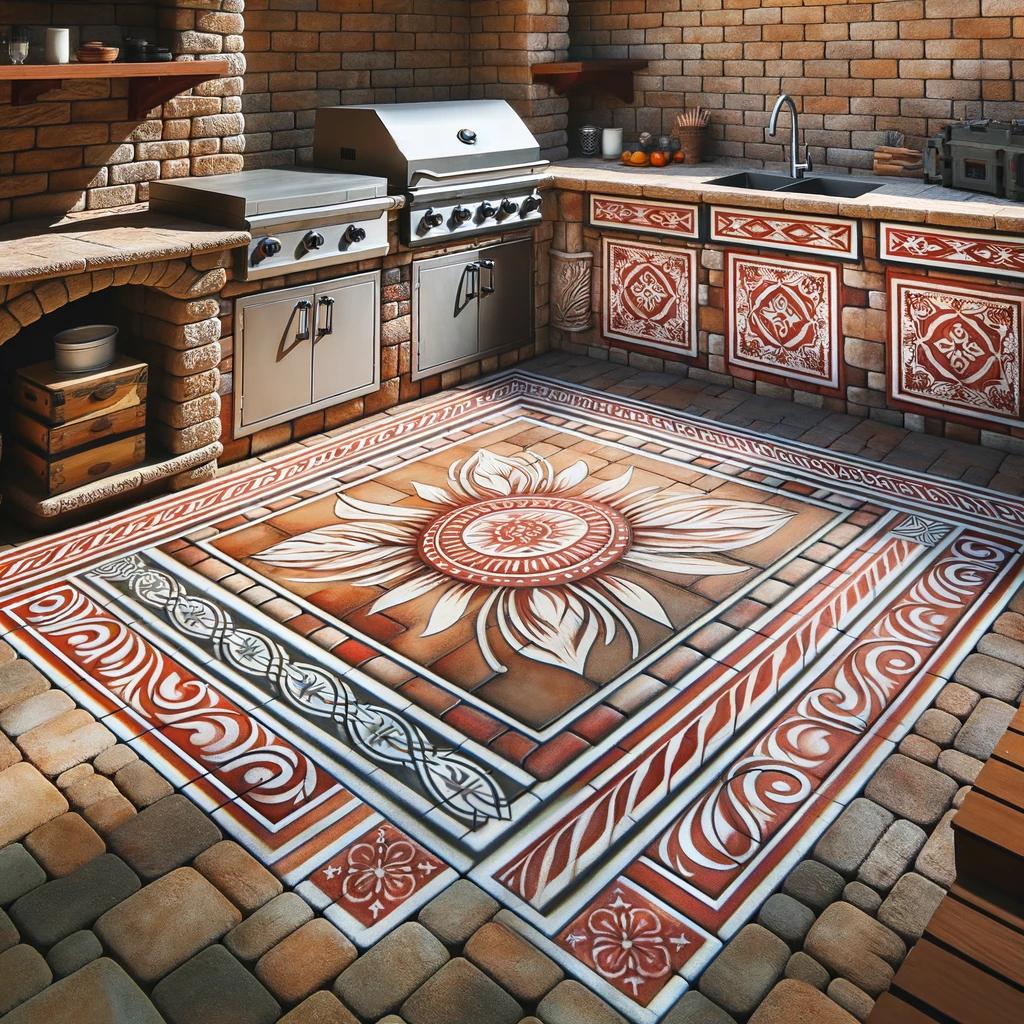
Faux Brick or Tile
Create the illusion of a brick or tile surface using line marking paint and stencils. Choose colors and patterns that complement your outdoor kitchen’s style, such as a classic red brick or a Mediterranean-inspired terracotta tile.
Personalizing with Names or Initials
Add a personal touch to your outdoor kitchen by incorporating your family name, monogram, or initials into the design. Use stencils or freehand lettering to create a custom, one-of-a-kind look that reflects your unique style and personality.
Conclusion
Using line marking paint to revamp your outdoor kitchen area is a cost-effective, versatile, and creative way to transform your space into a stunning, personalized oasis. By following the steps outlined in this comprehensive guide, you can successfully plan, prepare, and execute your line marking paint project, achieving professional-looking results that will impress your friends and family.
Remember to choose the right paint and tools, properly prepare your surface, and take your time to create a well-planned, visually appealing design. Don’t be afraid to experiment with different colors, patterns, and techniques to make your outdoor kitchen truly one-of-a-kind.
With proper maintenance and care, your newly painted outdoor kitchen area will continue to look beautiful and inviting for years to come, providing the perfect backdrop for countless gatherings, celebrations, and cherished memories.
Frequently Asked Questions (FAQs)
- How long does line marking paint typically last on an outdoor kitchen surface? With proper application and sealing, line marking paint can last several years on an outdoor kitchen surface, depending on factors such as foot traffic, exposure to the elements, and maintenance.
- Can I apply line marking paint over existing paint or stains? Yes, you can apply line marking paint over existing paint or stains, provided that the surface is properly cleaned, repaired, and primed prior to application. However, for best results, it’s recommended to remove any loose or peeling paint and start with a clean, bare surface.
- Is line marking paint slip-resistant? Some line marking paints are formulated with slip-resistant additives, such as sand or silica, to provide better traction in wet conditions. If slip-resistance is a concern, look for paints specifically designed for this purpose or add a slip-resistant additive to your paint before application.
- Can I use regular paint instead of line marking paint for my outdoor kitchen? While regular paint may work in the short term, it’s not designed to withstand the harsh conditions and heavy foot traffic that outdoor kitchen surfaces experience. Line marking paint is specifically formulated to be durable, weather-resistant, and long-lasting, making it the better choice for this application.
- How do I remove line marking paint if I want to change my design in the future? To remove line marking paint, you’ll need to use a paint stripper or grinder, depending on the type of paint and surface. It’s important to follow the manufacturer’s guidelines and safety precautions when removing paint, as some methods may require special equipment or ventilation. If you’re unsure about removing the paint yourself, consider hiring a professional to handle the task.